如何使用腾讯混元API开发一个旅游攻略助手
前言

“腾讯元器”是基于腾讯混元大模型的一站式智能体制作平台,支持通过下述能力对大模型进行增强:
- 提示词,包含详细设定(system prompt),开场白,建议引导问题。
- 插件(外部API),目前支持勾选多个插件。官方插件包含微信搜一搜、PDF摘要&解析、混元图片生成,也支持用户自定义插件。
- 知识库,当前版本支持doc和txt两种格式。
- 工作流,一种“流程图”式的低代码编辑工具,可以用来做一个“高级版”插件。在工作流里,可以任意编排插件、知识库、大模型节点的工作顺序和调用传参,从而精确控制智能体中部分任务的运行逻辑。
通过元器平台制作的智能体,目前支持32k token上下文长度(某次回答过程中的提示词+机器回答的token长度,一个token约为1.8个中文字符)。工作流的超时运行时间为5分钟。智能体的回复上限时间是90s。
什么是腾讯混元大模型API
已发布的智能体,支持通过API方式与智能体进行交互。这种API的调用方式,适合有自己业务场景的用户,将智能体服务嵌入到自己的产品、服务中。当前每个元器用户有一个亿的token体验使用额度,额度用完后,将无法调用。目前已经上线API付费能力,付费后,可以支持更多次调用。
旅游攻略生成功能的原理
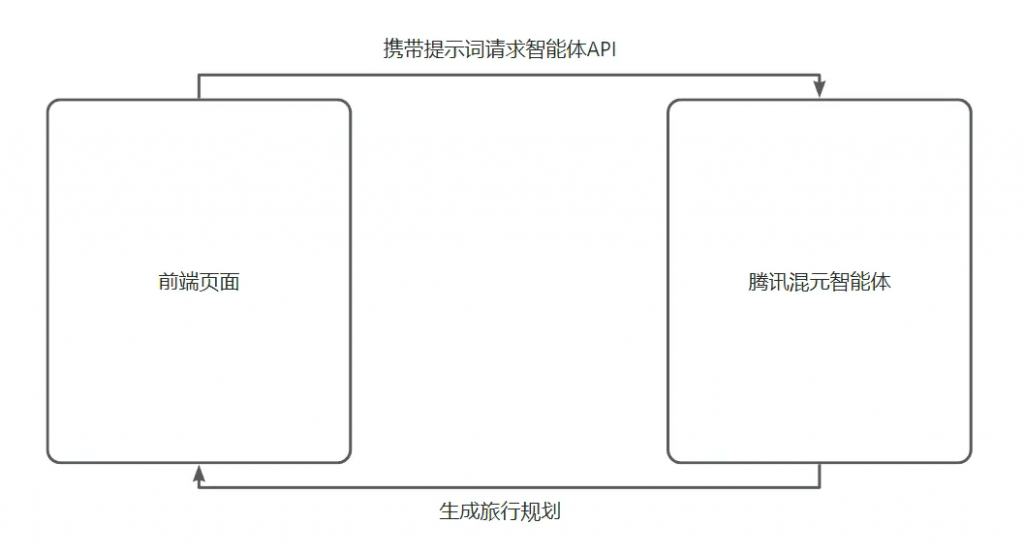
在腾讯混元创建旅游规划生成助手智能体并发布,通过API接口调用智能体,发送相关提示词,生成旅行规划返回并展示。

开发旅游攻略助手的具体实现流程
1. 创建智能体并发布
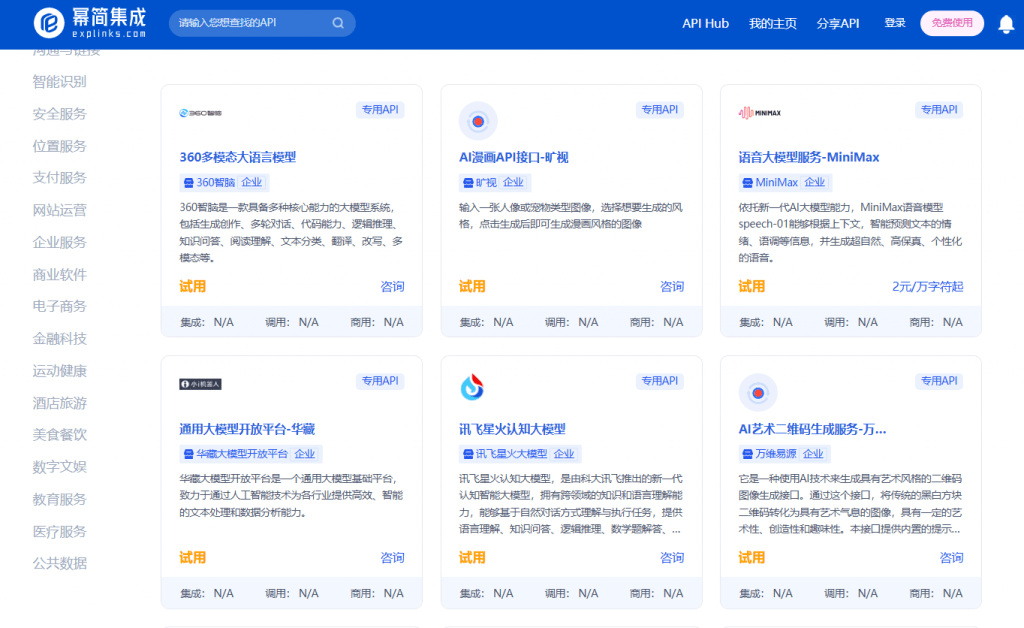
从API HUB中的“AI技术”分类中找到AI大模型API,选择腾讯混元大模型API

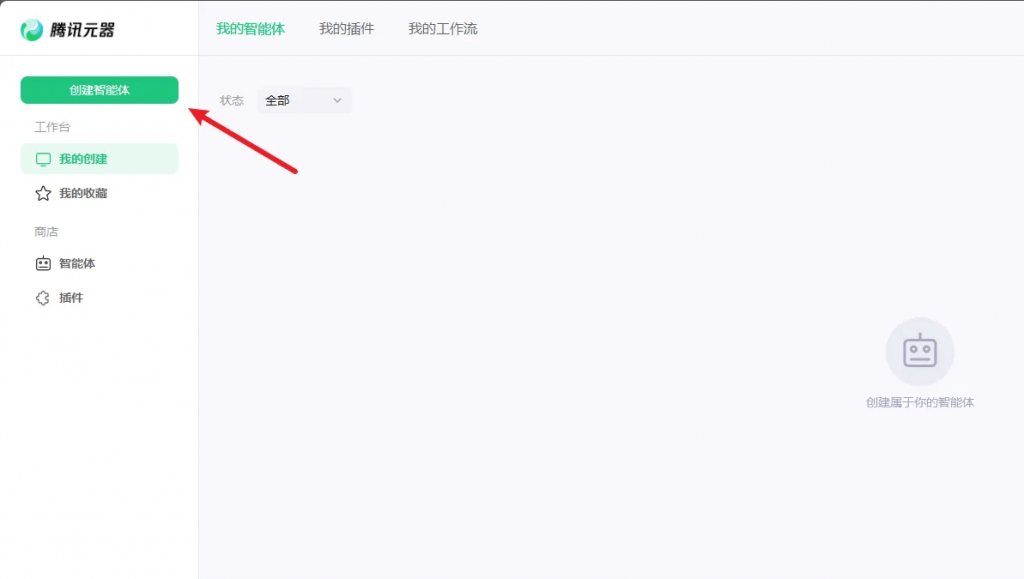
登录腾讯混元后创建智能体

输入要创建智能体的名称、简介、头像(可以AI生成)、详细设定等相关信息~

调试没有问题后就可以发布智能体,并等待审核成功~

审核通过后,到我的创建中找到创建的智能体

在弹窗中复制自己的智能体ID和Token(注意不要泄露,泄露后要及时重置)

2. 编写展示页面
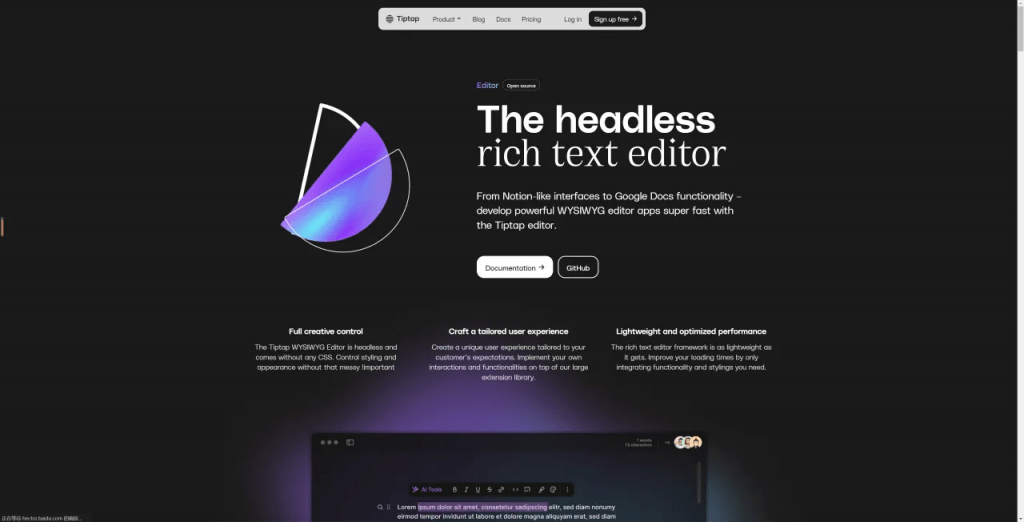
这里我们使用到的是tiptap富文本编辑器

代码如下:
<template>

  <div>

    <div>

      <button @click="editor.chain().focus().setParagraph().run()">正文</button>

      <button @click="editor.chain().focus().toggleHeading({ level: 1 }).run()">H1</button>

      <button @click="editor.chain().focus().toggleHeading({ level: 2 }).run()">H2</button>

      <button @click="editor.chain().focus().toggleHeading({ level: 3 }).run()">H3</button>

      <button @click="editor.chain().focus().toggleHeading({ level: 4 }).run()">H4</button>

      <button @click="editor.chain().focus().toggleHeading({ level: 5 }).run()">H5</button>

      <button @click="editor.chain().focus().toggleHeading({ level: 6 }).run()">H6</button>

      <button @click="editor.chain().focus().toggleBlockquote().run()">引用</button>

      <br>

      <button @click="editor.chain().focus().toggleBold().run()">加粗</button>

      <button @click="editor.chain().focus().toggleUnderline().run()">下划线</button>

      <button @click="editor.chain().focus().toggleItalic().run()">斜体</button>

      <button @click="editor.chain().focus().toggleStrike().run()">删除线</button>

      <button @click="editor.chain().focus().toggleCode().run()">行内代码</button>

      <button @click="editor.chain().focus().toggleSuperscript().run()">上标</button>

      <button @click="editor.chain().focus().toggleSubscript().run()">下标</button>

      <button @click="editor.chain().focus().unsetAllMarks().run()">清除格式</button>

      <input

        type="color"

        @input="editor.chain().focus().setColor($event.target.value).run()"

        :value="editor.getAttributes('textStyle').color"

      >

      <button @click="editor.chain().focus().toggleHighlight({ color: '#8ce99a' }).run()">高亮</button>

      <button @click="editor.chain().focus().setFontSize('20px').run()">20px</button>

      <br>

      <button @click="editor.chain().focus().toggleBulletList().run()">无序列表</button>

      <button @click="editor.chain().focus().toggleOrderedList().run()">有序列表</button>

      <button @click="editor.chain().focus().toggleTaskList().run()">待办</button>

      <br>

      <button @click="editor.chain().focus().setTextAlign('left').run()">左对齐</button>

      <button @click="editor.chain().focus().setTextAlign('center').run()">居中对齐</button>

      <button @click="editor.chain().focus().setTextAlign('right').run()">右对齐</button>

      <button @click="editor.chain().focus().setTextAlign('justify').run()">两端对齐</button>

      <button @click="editor.chain().focus().unsetTextAlign().run()">不设置对齐</button>

    </div>

    <div style="width: 500px;height: 500px;border: 1px solid #ccc">

      <editor-content class="tiptap" style="border: 1px solid pink;height: 100%;overflow-y: auto" :editor="editor"/>

    </div>

    <div>

      <el-input style="width: 500px;" v-model="prompt" type="textarea"></el-input>

      <br>

      <el-button @click="generateText">生成长文本</el-button>

    </div>

  </div>

</template>


<script>

import {Editor, EditorContent} from '@tiptap/vue-2'

import StarterKit from '@tiptap/starter-kit'

import Underline from '@tiptap/extension-underline'

import Superscript from '@tiptap/extension-superscript'

import Subscript from "@tiptap/extension-subscript"

import Text from '@tiptap/extension-text'

import TextStyle from '@tiptap/extension-text-style'

import {Color} from '@tiptap/extension-color'

import Highlight from '@tiptap/extension-highlight'

import FontSize from './fontSize'

import TaskItem from '@tiptap/extension-task-item'

import TaskList from '@tiptap/extension-task-list'

import TextAlign from '@tiptap/extension-text-align'


import {marked} from 'marked';

import axios from "axios";


export default {

  name: "Tiptap.vue",

  components: {

    EditorContent,

  },

  data() {

    return {

      editor: null,


      // 提示词

      prompt: '到北京的旅游攻略,时间:7月15日到7月20日,我和我的家人,包括爷爷奶奶,他们比较喜欢历史悠久的名胜古迹和自然山水,有哪些必打卡的地方,需要携带哪些物品,有什么注意的地方,我需要提前准备什么',

    }

  },

  mounted() {

    this.editor = new Editor({

      content: '',

      extensions: [StarterKit,

        Underline,

        Superscript,

        Subscript,

        Text,

        TextStyle,

        Color,

        Highlight,

        FontSize,

        TaskList,

        TaskItem.configure({

          nested: true,

        }),

        TextAlign.configure({

          types: ['heading', 'paragraph'],

        }),],

    })

  },

  beforeDestroy() {

    this.editor.destroy()

  },

  created() {


  },

  methods: {

    // 生成长文本

    generateText() {

      const url = 'https://open.hunyuan.tencent.com/openapi/v1/agent/chat/completions';

      const headers = {

        'X-Source': 'openapi',

        'Content-Type': 'application/json',

        'Authorization': 'Bearer 你的Token'

      };

      const data = {

        "assistant_id": "你的智能体ID",

        "user_id": "username",

        "stream": false,

        "messages": [

          {

            "role": "user",

            "content": [

              {

                "type": "text",

                "text": this.prompt,

              }

            ]

          }

        ]

      };


      axios.post(url, data, {headers})

        .then(response => {

          console.log(response.data);

          let content = response.data.choices[0].message.content;

          console.log(content)

          let html = marked(content, {sanitize: true});

          this.editor.commands.setContent(html);

        })

        .catch(error => {

          console.error('There was an error!', error);

          // 处理错误情况

        });


    }

  }

}

</script>


<style scoped lang="scss"></style>
3. 效果展示
通过上述代码,我们可以创建一个旅游攻略助手,输入相关提示词后,点击“生成长文本”按钮即可生成对应的旅游攻略内容,并展示在tiptap编辑器中。

总结
通过腾讯元器平台,我们能够轻松创建和发布智能体,利用强大的混元大模型实现各种复杂的任务。本文介绍了如何创建一个旅游攻略生成助手,包括创建智能体、配置提示词、集成tiptap富文本编辑器并通过API与智能体交互生成内容。通过这些步骤,我们展示了如何利用腾讯混元平台提供的强大工具和功能,快速构建和部署智能体服务,为用户提供个性化和高效的解决方案。元器平台的多插件支持和工作流功能,使开发者能够灵活定制和扩展智能体的功能,满足各种业务需求。
最新文章
- Python + BaiduTransAPI :快速检索千篇英文文献(附源码)
- Nexus API 的入门教程与使用指南
- API 规范:设计与最佳实践
- Undetectable检查AI API的使用指南
- 深度解析思维链Prompt(Chain-of-Thought Prompt):激发大模型推理能力的关键技术
- DeepSpeed-Chat 模型训练实战
- 使用NestJS和Prisma构建REST API:身份验证
- 教育革命:在App中集成ChatGPT API…
- 什么是OpenAPI?深入探讨API开发
- API性能:响应时间 vs 吞吐量,哪个更重要?
- API 是否应该采用语义化版本控制?
- WordPress REST API 内容注入漏洞分析